Hello, Fellow Creators, Welcome to OnlineBizTutorial, I’m your buddy Dilwala Shakil. Are you looking to get the Best Notion alternative but at an affordable price? Meet Notch!
Today I will review, the Notch Sales Management Tools’ Lifetime deal.
What is Notch?
Notch is a digital sales room that helps create a branded space with documents like sales proposals and offers, shares resources, and contracts with buyers, and closes deals via a single link.
With Notch, you can
- Create customizable, branded spaces for each buyer, start from scratch with a blank space, or use a pre-built template.
- Use drag-and-drop builder-like columns, progress bars, and calls to action.
- Consolidates all your sales resources.
- Embed YouTube videos, Typeforms, Calendly invites, Loom videos, and other resources.
- Collect signatures from buyers.
- Receive signup notifications.
- Track your buyers’ activity, including views, shares, and engagement.
- CreateTask list to break down processes into simple steps.
- Integrates with tools that you use daily, like HubSpot, Salesforce, and monday.com.
So it seems like it would be a good digital sales room creator tool.
In this review, I’ll cover everything you need to know about this software and whether it’s still worth picking.
So Let’s get started…
Notch Plans and Pricing
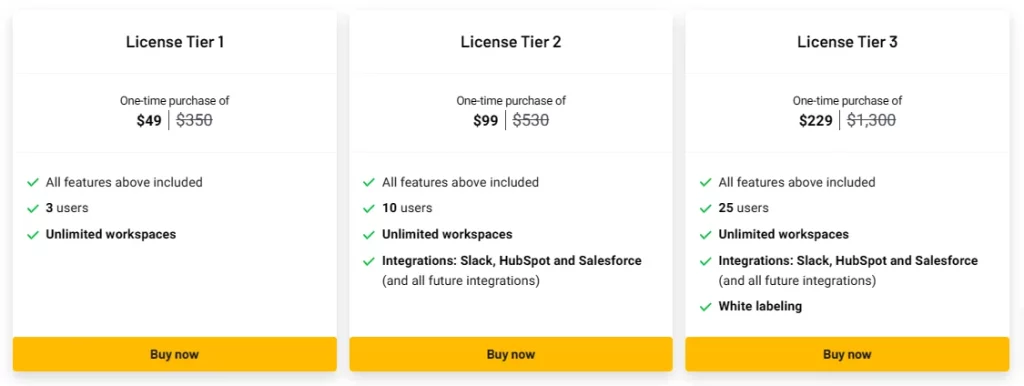
Notch offers 3-lifetime License Tiers on AppSumo.
License Tire 1 costs $49, including
- 3 users
- Unlimited workspaces
- And all the basic features
Next, if you want 10 users and Integrations: Slack, HubSpot, and Salesforce then go for tier 2 which costs $99.
And go for license tire 3 if you want more like 25 users access and a White labeling feature at $229.
Agency owners can go for plan 3, and, Individuals can try Tire 1.
Now let’s see how to use Notch step by step.
Notch Features & Benefits
1. Create Spaces
Notch lets you create customizable, branded spaces for each buyer to establish a strong first impression and streamline your sales follow-up.

In the dashboard, we can see All the Spaces we have created. We can search spaces by name, and filter them by stage, company, or owner name. We can also show or hide tons of data by clicking on the settings icon.
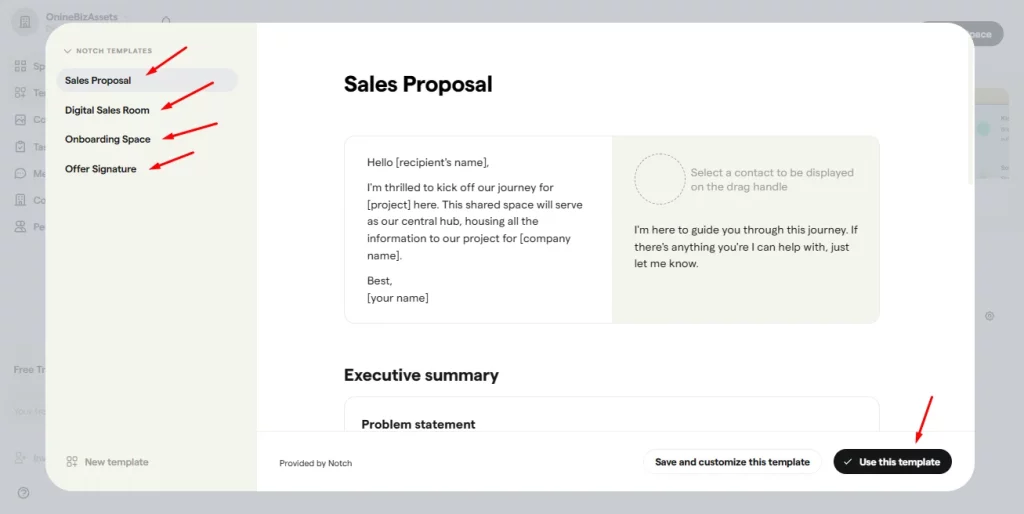
You can start from scratch with a blank space or use a pre-built template such as for:
- Sales Proposal
- Digital Sales Room
- Onboarding Space
- Or Offer a Signature page to create a shared space in seconds.
Now let’s start with a blank template. Insert the company name for which you are setting up this space. Next, click on Create.
This is the space editor. On top, we can add a cover photo, add the client company logo to make this page more personal, edit the company name, do massages with them, see and edit the member’s details, preview the space, and lastly share the space with the client.
Before sharing the space, you have to verify your email address and you can also set the permission to access the space.
Next, we can set this space content as a template, load contents from templates into this space, download this space as a pdf, duplicate or delete this, and last whether to show or hide this space to customers.
Also if you are not satisfied with one page you can create multiple ones in the same space.
Now we are in the main content editor. To add elements you have to enter the (/) icon every time. It offers tons of elements for different purposes.
We can add text elements such as
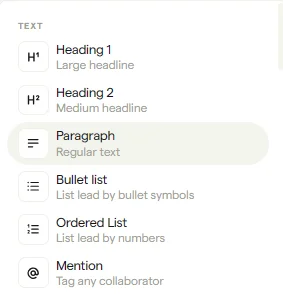
- Heading 1 and 2
- Paragraph
- Bullet List
- Ordered List
- The Mention element to tag any collaborator
Next, there are some proposal elements such as:
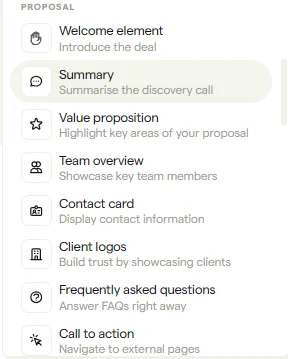
- Welcome element
- Summary
- Value proposition
- Team Overview
- Contact card
- Client logos
- FAQs
- And Call to Action section
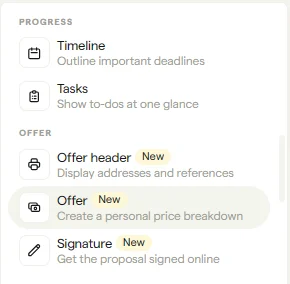
Progress Elements such as
- Timeline
- And Tasks
Some new Offer Elements like
- Offer header
- Offer
- And Signature
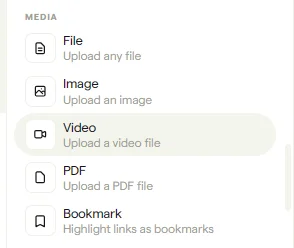
Next, we have Media Elements by which we can upload files, images, videos, PDFs, and highlight links as bookmarks.
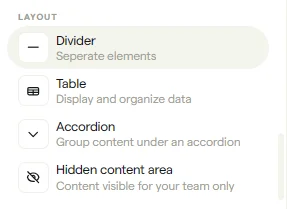
We also have some Layout Elements by which we can add a divider, table, accordion, and hidden content area in the space.
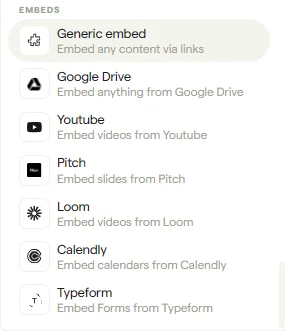
And last we can embed so many things like any content via links, Google Drive, YouTube videos, content from pitch, loom, calenders from calendly, and forms.
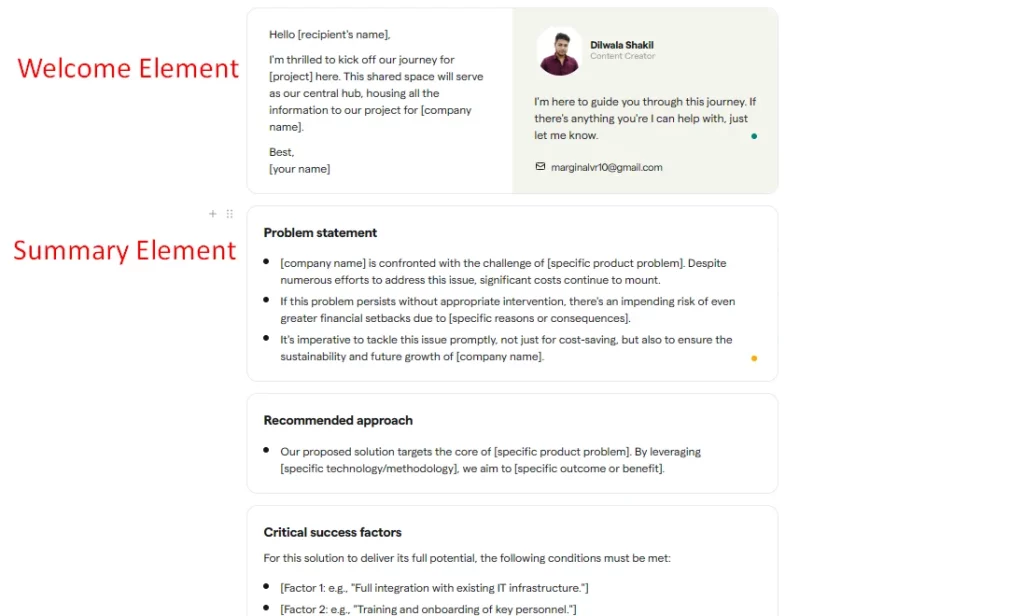
Now let’s add a welcome element.
Left side we have a little message for the client. If you are a beginner, then only replace the text with correct information that is in the third bracket, otherwise, keep all the text the same.
On the right, we have our name, job title, little text on what we are going to offer, and last our email. Of course, you can add additional texts or remove them according to your needs.
We can add the summary element which offers a readymade template with contents for the Problem statement, Recommended approach, and Critical success factors.
You can change all the information in the third bracket and use other parts the same as it is if it is relevant to your niche.
In the same way, you can try these elements. I won’t show them all because the review will be long and you will get bored. All the work will be saved automatically so no risk of losing data when you accidentally close the tab or window.
When finished share your space with clients and track their activity such as the number of views, interactions, comments, and a lot more.
2. Content Library
Efficiently enhance your workflow by adding files that can be easily reused across various components to construct your pages. The list of uploaded documents will appear here
3. Tasks
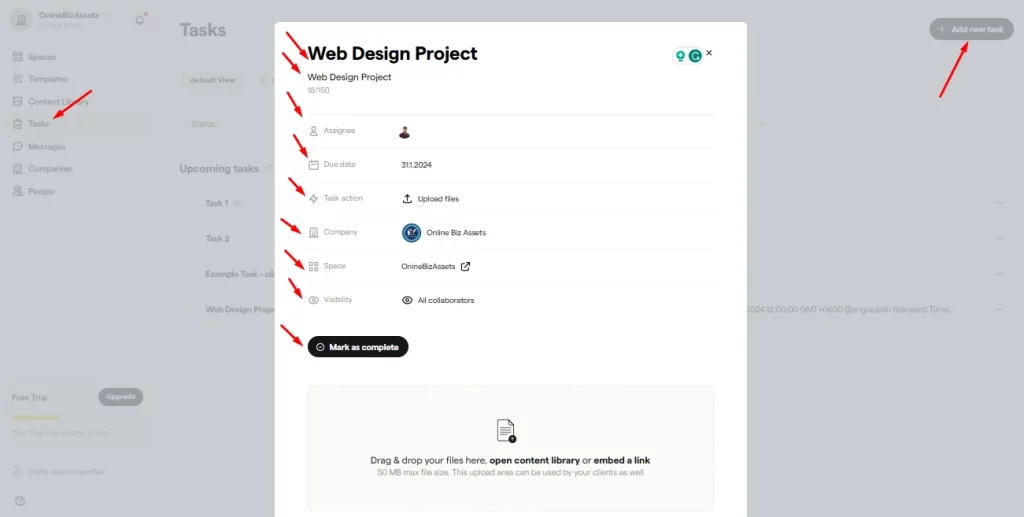
The notch allows us to create task lists for different companies and spaces to keep us on track. Give it a name, add a description, add an assignee, select the due date if needed, add task action, company, and space, and set the Visibility.
Next, add content by entering the slash (/) from the keyboard to add elements. Last, when done, mark the task as complete or incomplete.
Notch also integrates with tools you use daily, like HubSpot, Salesforce, and monday.com, making it a cinch to fit into your existing workflow.
4. Messages
Notch also allows to do messaging with space members on the same platform. Just select your space from the list and type something to get started!
5. Companies & People
Next, we can see the list of companies we are working with and all the people. Invite collaborators to a space to see them here.
7. Team Collaboration
Invite team members through email address. They have full access to the space and can edit any of the content it contains.
Conclusion
It is a good alternative to Notion and Outreach and best for Freelancers, SaaS, Solopreneurs, etc.
If you’re seeking an effective sales management tool to create digital sales rooms, generate proposals, share resources, and ultimately close more deals, this solution can be of great assistance.
You can get the Notch lifetime deal with a 60-day money-back guarantee.
3 thoughts on “Notch Sales Management Tool Tutorial & Review: A Step-by-Step Guide”